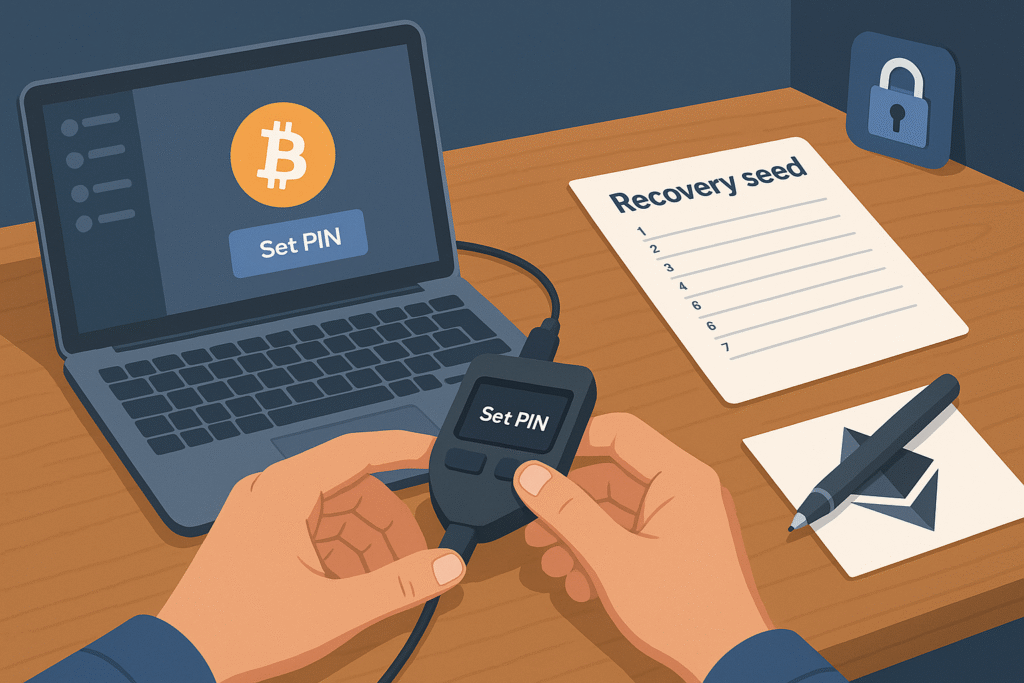
Learn to set up, secure, and use your crypto hardware wallet with this 2025 guide. Store Bitcoin, Ethereum & NFTs offline with ease and peace of mind.
TL;DR
- This guide walks you through setting up and using a hardware wallet (e.g. Trezor Safe 3).
- It covers wallet setup, seed phrase protection, PIN codes, and sending/receiving crypto securely.
- You’ll also learn how to use your wallet with MetaMask for DeFi and NFT transactions.
- The goal: keep your private keys offline and your crypto assets safe.
Unboxing: What’s in the Box?
Using Trezor Safe 3 as our example, your box typically includes:
- Hardware wallet (with tamper-proof seal)
- USB-C cable
- 2 recovery seed phrase cards
- Quick start guide
- Trezor stickers
Before using it:
- Ensure the seal is intact
- Do NOT plug in a compromised device
Setting Up Your Crypto Hardware Wallet (Trezor Safe 3)
This takes about 10–15 minutes and is the most critical step in securing your assets.
✅ Step-by-step:
- Download Trezor Suite
From trezor.io, install the app on your computer. - Connect and Install Firmware
Plug in your Safe 3 and follow the on-screen prompts to install the firmware. - Verify Device
Use the physical buttons to confirm device authenticity. - Choose “Create New Wallet”
(or restore using seed phrase if applicable) - Select Backup Method
Use Standard seed backup unless you understand Shamir backup. - Write Down Your Seed Phrase
You’ll get 12/20/24 words. Never store this digitally.
🔒 Backup Tip: Create 2 physical copies, store in separate secure locations. - Confirm Seed Phrase
The device will ask you to verify random words. - Set a Secure PIN Code
Use the randomized interface to select a PIN (up to 50 digits).
Don’t use birthdays or repeat numbers. - Enable Coins
Choose Bitcoin, Ethereum, and other supported assets. - Finish Setup
Name your wallet and customize the dashboard.
🎉 Done! Your wallet is ready to use securely offline.
Receiving Crypto Safely
- Open Trezor Suite → Choose a crypto account
- Click Receive → Then Show Full Address
- Match the address on your screen AND wallet
- Share the address or QR code with sender
📍 The wallet doesn’t need to be plugged in to receive.
Best practices:
- Use a new address each time
- Confirm address on your device (not just in browser)
Sending Crypto Securely
- Select correct account → Click Send
- Enter wallet address + amount
- Select a fee level (Low/Standard/High)
- Click Review & Send
- Confirm the transaction on your hardware device
✅ The private key NEVER leaves your wallet.
Pro Tips for Cold Wallet Safety
- ✅ Enable 2FA on your accounts
- ✅ Never take photos of your seed
- ✅ Don’t store seed phrases in the cloud
- ✅ Watch out for clipboard hijacking malware
- ✅ Set up Telegram/email alerts for transactions
Using Trezor with MetaMask for DeFi & NFTs
- Open MetaMask → Connect Hardware Wallet
- Select Trezor
- Authorize public key read (safe)
- Choose your Ethereum account
- Use DApps like Uniswap or OpenSea — all approvals will happen on your Trezor screen
Benefit: All Web3 actions (swaps, mints) stay secured via cold storage.
Why Hardware Wallets Still Matter in 2025
Hardware wallets like Trezor or Ledger offer unmatched crypto protection by storing your private keys offline. They prevent remote theft, phishing, and browser-based attacks.
✔️ Great for:
- Long-term storage
- NFT collectors
- DeFi users
- Multichain crypto holders
Explore our Best Hardware Wallets 2025 Guide to compare Ledger, Keystone, Trezor, and others.
Disclaimer
This post includes affiliate links. Always conduct your own research before buying crypto products. This is not financial advice.

